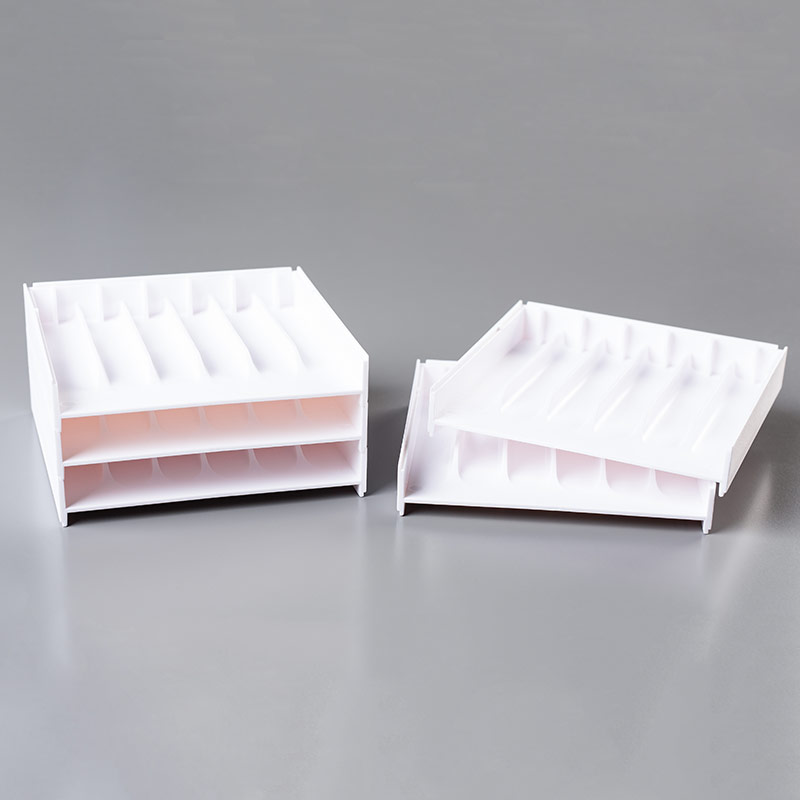
We had Stamp Club last week and made two cards, our December calendar and a Birthday Reminder Box.
Here are the pictures and instructions:
2 pieces of Thick White Cardstock –
·
#1 measures 11” x 7”
·
#2 measures 7.5” x 6”
·
Score Piece #1 on it’s longer side & .5” / 3” / 8” / 10.5”
·
Use the Diagonal Score Plate & score at the 8” mark (see diagram)
·
Flip the page completely over (to the back side). The first diagonal (@ 8”) should now be in
the opposite corner. Score again at the
8” mark diagonally.
·
Fold & cut off the corners
·
Add strong tape (Red Line or Sookwang tape) to the two 5” flaps on
the side.
Piece #2:
·
Score at .5” and 3” on the longer side.
·
Turn 90 degrees and score at .5 & 5.5” on the shorter side.
·
Trim ½” flaps as seen in diagram
·
Place strong tape on ½” flaps.
Adhere Designer Paper to box before putting it together. Side panels are cut 7” x 2 ¼”. Front panel is 4 ¼” x 4 ¾”
·
Fold the ½” flaps up & align them along the inside back of
Piece #1. Adhere.
·
Fold in the “wings” and adhere them to the base flaps.
·
Fold up the front & adhere to the remaining ½” flaps.
To make the notch, measure in half-way from the sides & make a
pencil mark. Use a Circle Punch &
punch a half circle.
You need 6 Dividers cut at 6” x 4 ¾”
DSP for the dividers is cut at 5 ½” x 4 ¾” – scored at 5.5” &
2”
If you want to make additional boxes (nice Christmas present!),
here is the link to directions AND a link to printing the calendar inserts.
Thanks to Marianne for this card! She gave me the one on the right for my birthday in October. I gave the ladies a choice between Wisteria Wonder and Fresh Fig. This set comes with framelits but I did not use them on the card. We just stamped directly on the white cardstock.
BEAUTIFUL
BOUQUET
Supplies:
Ø Ink: (your choice)
·
Card #1 – Garden Green, Daffodil, Fresh Fig, Sugarplum
·
Card #2 – Wisteria, Daffodil, Flirty Flamingo, Garden Green
Ø Cardstock: Whisper White, Fig OR Wisteria
Ø Stamps: Beautiful Bouquet
Accessories:
Ø
Twine
or Ribbon
Instructions:
·
Stamp stem with green ink.
·
Stamp flowers in your choice of colors.
·
Stamp sentiment of your choice.
·
Make a bow & adhere it with Glue Dots.
·
Adhere white cardstock to purple card.
This card is so much prettier in real life. I actually got a new club member thanks to this card! It was a great way to introduce everyone to the new Stampin' Blends!
VINTAGE LEAVES
Supplies:
Ø Ink: Black, Cajun Craze
Ø Cardstock: Very Vanilla (8 ½” x 5 ½” AND 5 ¼” x 4”),
Thick white cardstock
Ø Stamps: Vintage Leaves, Teeny Tiny Wishes
Accessories:
Ø
Stampin’ Up Blends Markers
Ø
Classic Label Punch
Ø
Woodland Embossing Folder
Ø
Leaflets Framelits
Instructions:
·
Run the smaller piece of Very Vanilla cardstock through the
Woodlands embossing folder. Adhere to
card.
·
Stamp leaves onto Vanilla cardstock, color with Blends Markers
& die cut.
·
After die cutting leaves, use Blends marker around edges so white
is covered up.
·
Adhere leaves to card – use dimensionals on some of them.
·
Stamp sentiment on scrap of Vanilla, punch out & adhere to
card.
DECEMBER CALENDAR
Supplies:
Ø Ink: Cherry Cobbler
Ø Cardstock: Garden Green, Cherry Cobbler, Be Merry DSP,
White
Ø Stamps: Be Merry, Wrapped in Warmth (retired)
Ø
Cable Knit embossing folder
Instructions:
·
Run Green cardstock through Big Shot with Cable Knit Embossing
Folder.
·
Stamp cup & lid onto Be Merry paper & cut out.
·
Cut a strip of Be Merry paper and wrap around middle of cup.
·
Adhere cup & lid to green card.
·
Stamp sentiment in Cherry Cobbler; cut and mount with dimensionals


